Yes, LinkedIn has built-in scheduling for personal profiles and Company Pages up to three months ahead, with no outside tool needed. Personal profiles have a 10-minute minimum lead time, while Company Pages require one hour.
But when you choose a morning publishing slot, whose morning are you choosing, yours, your client's, or your audience's?
That's the gap behind many scheduling mistakes. Writing a post in advance is straightforward; making sure it publishes from the right account at the right local time takes a little more care, especially when an assistant, agency, or overseas teammate handles the queue.
Yes, LinkedIn Schedules Posts Natively and Where to Do It
Can LinkedIn hold a post for later without sending it at the wrong local hour? Yes, you can schedule LinkedIn posts in advance without adding another publishing platform. The first decision is where you're publishing, because the account type changes the lead time, the time-zone basis, and who can confirm the queue.
Native scheduling arrived in November 2022, initially on LinkedIn's website and Android app, with iOS support planned later, according to TechCrunch's launch coverage. That launch supported text, images, and videos; LinkedIn described Groups and Pages as planned extensions rather than features available in that initial release.
Treat that rollout as history, not as today's menu. Open the composer for the exact account and format you plan to publish, then look for the clock control before you trust the workflow.
Where you can schedule LinkedIn posts and how far ahead
LinkedIn's scheduling guidance distinguishes personal-profile scheduling, 10 minutes to three months ahead, from Page scheduling, one hour to three months ahead, and describes different time-zone handling for each.
| Where you schedule | Earliest to latest | Time-zone basis |
|---|---|---|
| Personal profile, desktop or web | 10 minutes to 3 months ahead | Device time zone, standardized to UTC |
| Company Page, as an administrator | 1 hour to 3 months ahead | Administrator's location |
| LinkedIn mobile app | Same account limits: 10 minutes to 3 months for personal profiles; 1 hour to 3 months for Pages | Signed-in account and app display; confirm the shown slot before Schedule |
Desktop or web is the safer starting point when you're checking identity, attachments, and queue position together. You can see which profile or Page is active, review media without pinching a preview, and catch a wrong account before the post leaves.
For a Company Page, enter the Page's administrator workflow before composing. A post drafted from your personal feed does not become a Page post because you manage that business.
On mobile, use the composer in front of you rather than instructions written for an older release. If the scheduling control is missing for that format, move to the web workflow instead of assuming the post is queued.
Native scheduling or an outside tool
Native scheduling is enough when one responsible person needs a clean queue and can check account, copy, and slot in one place. An outside tool earns its keep when the problem is coordination: shared calendars, several brands, approvals, or a team spread across time zones. It does not erase LinkedIn's account limits, and it adds one more setting to verify, the time zone configured inside that tool.
Practical rule: Choose the simplest setup that lets the responsible person verify the account, content, and publishing time.
Decide whether you're publishing from a personal profile, a Page, or both. Then use the matching composer and confirm the displayed slot against the audience's local time before you press Schedule.
How to Schedule a LinkedIn Post Step by Step
Finish the content before you start assigning publishing slots. Treat scheduling as the final publishing action, not a substitute for reviewing an unfinished draft.
The composer is also your last convenient place to catch mismatched attachments, an awkward opening, or a link that leads to the wrong landing page. Keep your approved copy somewhere recoverable outside the queue.
Prepare, schedule, and verify
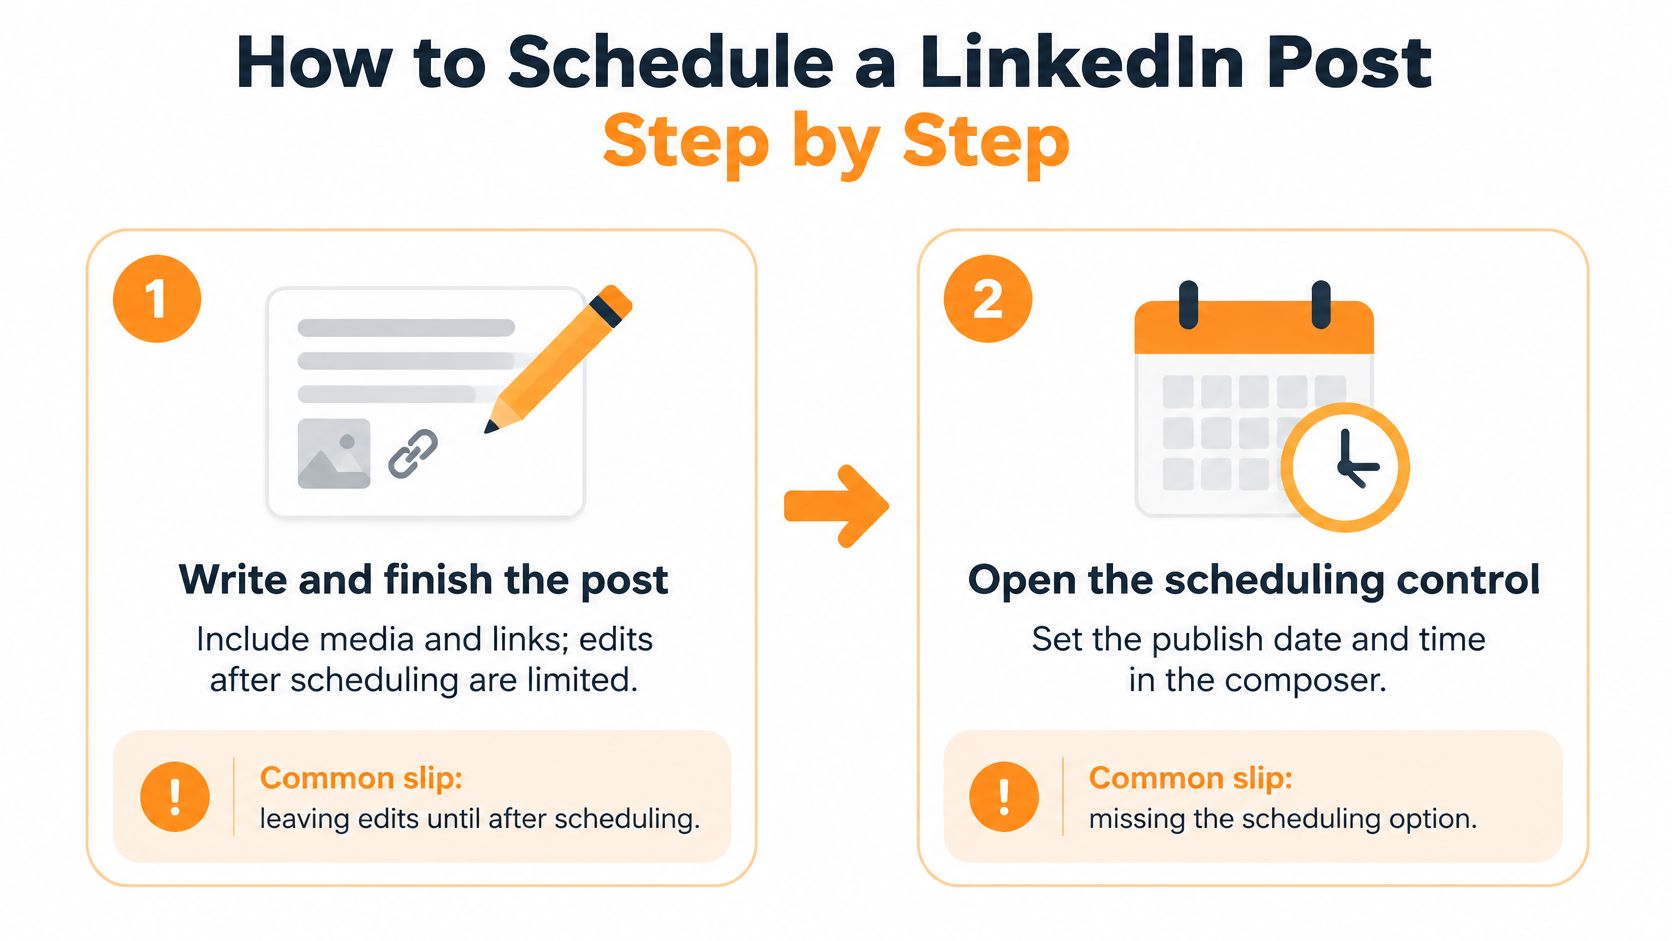
Write and finish the post. Open the composer under the intended identity, then add the finished copy, media, and links. Don't leave substantive revisions until after scheduling, because the queued post may not offer the editing controls you expect.
Open the scheduling control. Look for the clock icon or scheduling option near the publishing controls, rather than assuming its position will match an old tutorial. The common slip is pressing Post out of habit when you meant to open the scheduler.
Choose the publishing date and available time. Read the month, day, and morning or afternoon setting deliberately, particularly when queuing similar posts together. Don't assume the composer retained the date you used for the previous item.
Check the displayed time basis. Compare the selected slot with the audience-local time in your content calendar before confirming. If the interface doesn't make the time zone clear, resolve that uncertainty rather than guessing.
Confirm with Schedule, then inspect the queue. Reopen the scheduled-post list and check that the item appears under the intended account with the expected timestamp. Closing the composer isn't proof that you successfully scheduled the post.
Use the scheduled list for changes or cancellation. Open the item's available controls to adjust or remove it before publication. If changing the text or media isn't supported, keep the approved copy, delete the queued version, and recreate it rather than leaving a known mistake scheduled.
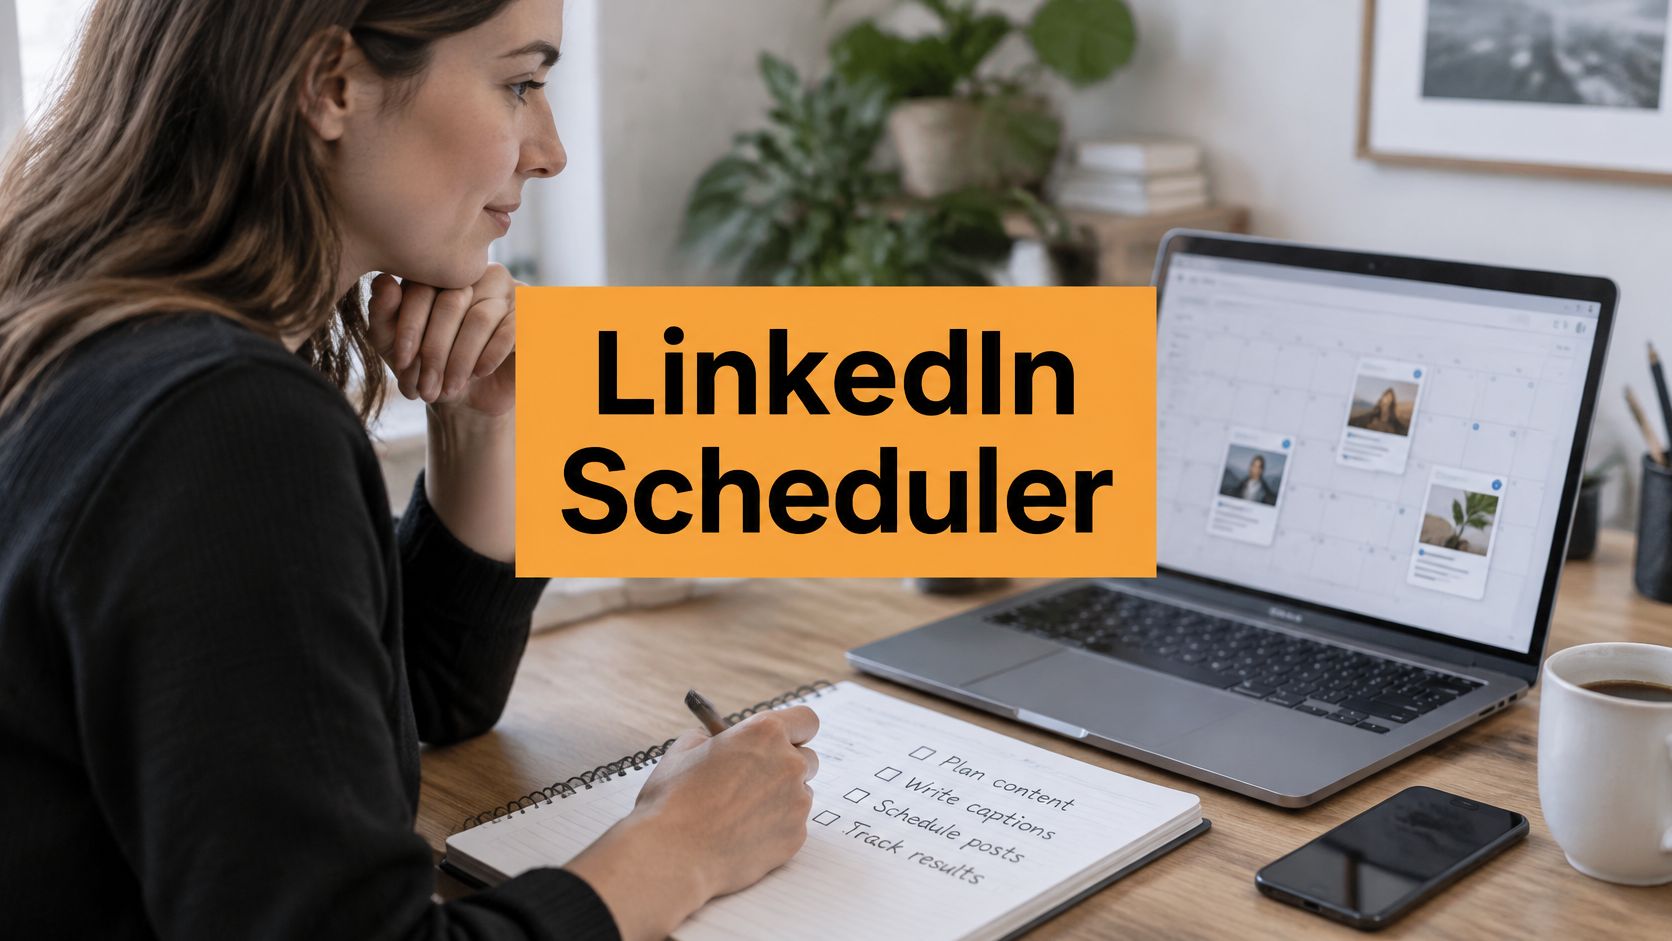
Use this visual reminder when you're preparing the composer and opening the scheduling control.
What a correct setup looks like
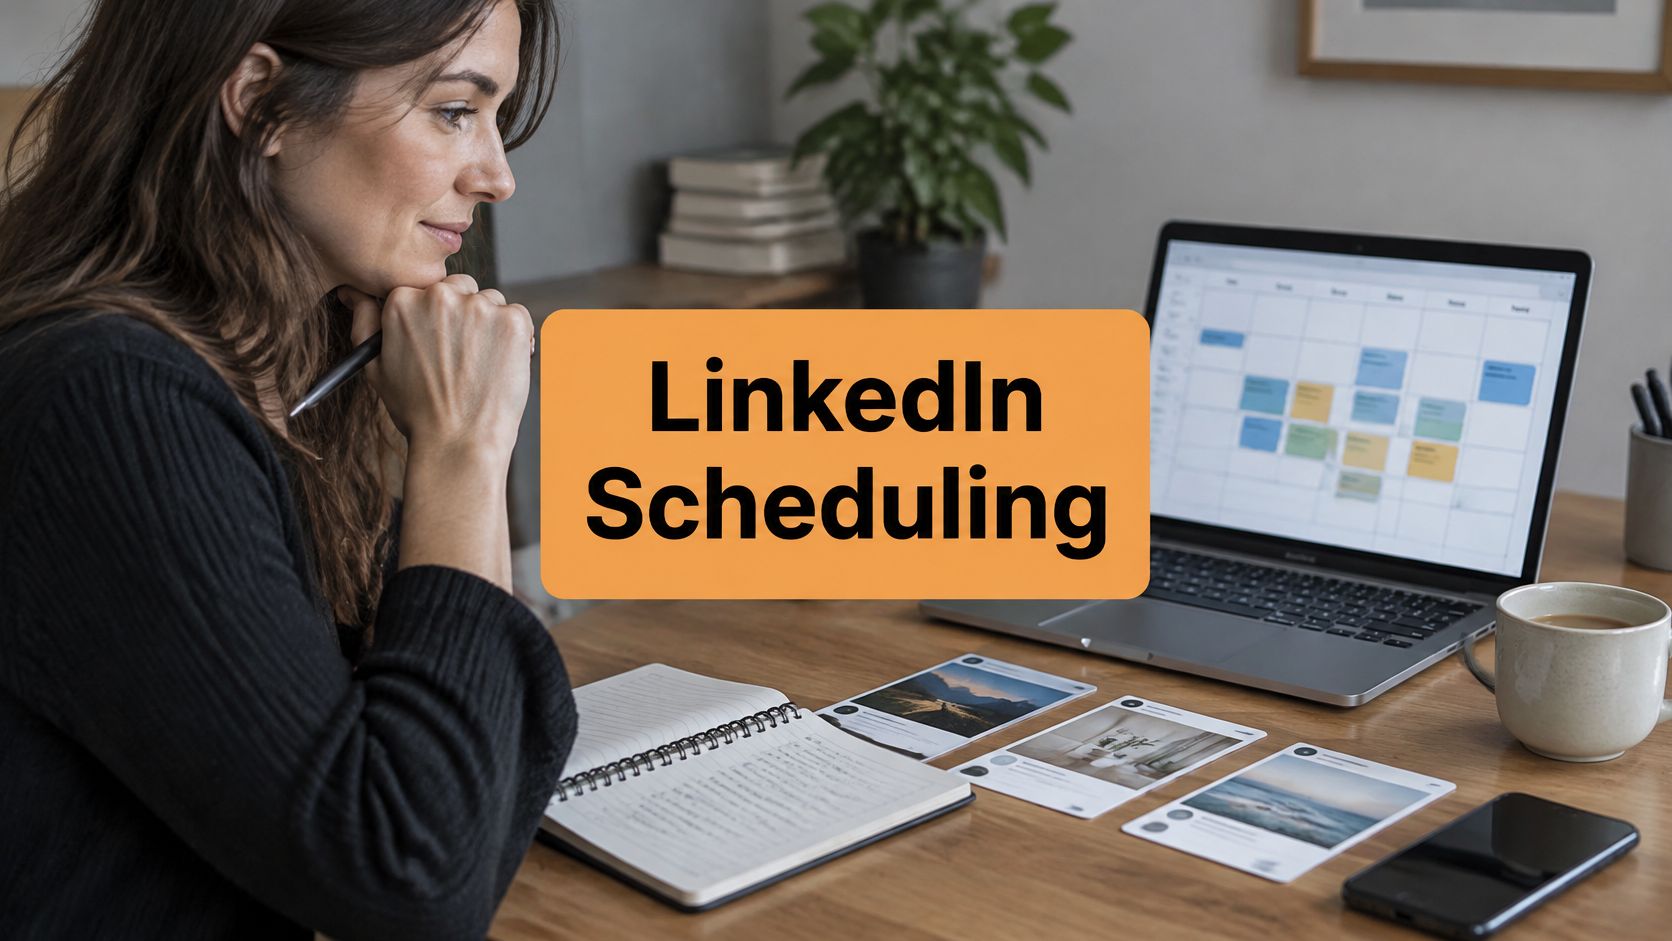
A successful setup leaves visible evidence: the right post is in the right account's queue, with the intended date and time. For client work, record that confirmation in the editorial calendar so the approver doesn't have to ask whether it's ready.
Add a calendar reminder to review the post on publication morning. That review isn't another copy-editing round; it's a chance to catch changed circumstances, an unavailable landing page, or a business announcement that should take priority.
A scheduled post should be finished, but it shouldn't be impossible to stop.
If you're working with an approver, agree on what happens when they request a last-minute change. Someone needs authority to remove the post, not just permission to leave a comment in the planning document.
Time Zones, Account Limits and Preflight Checks
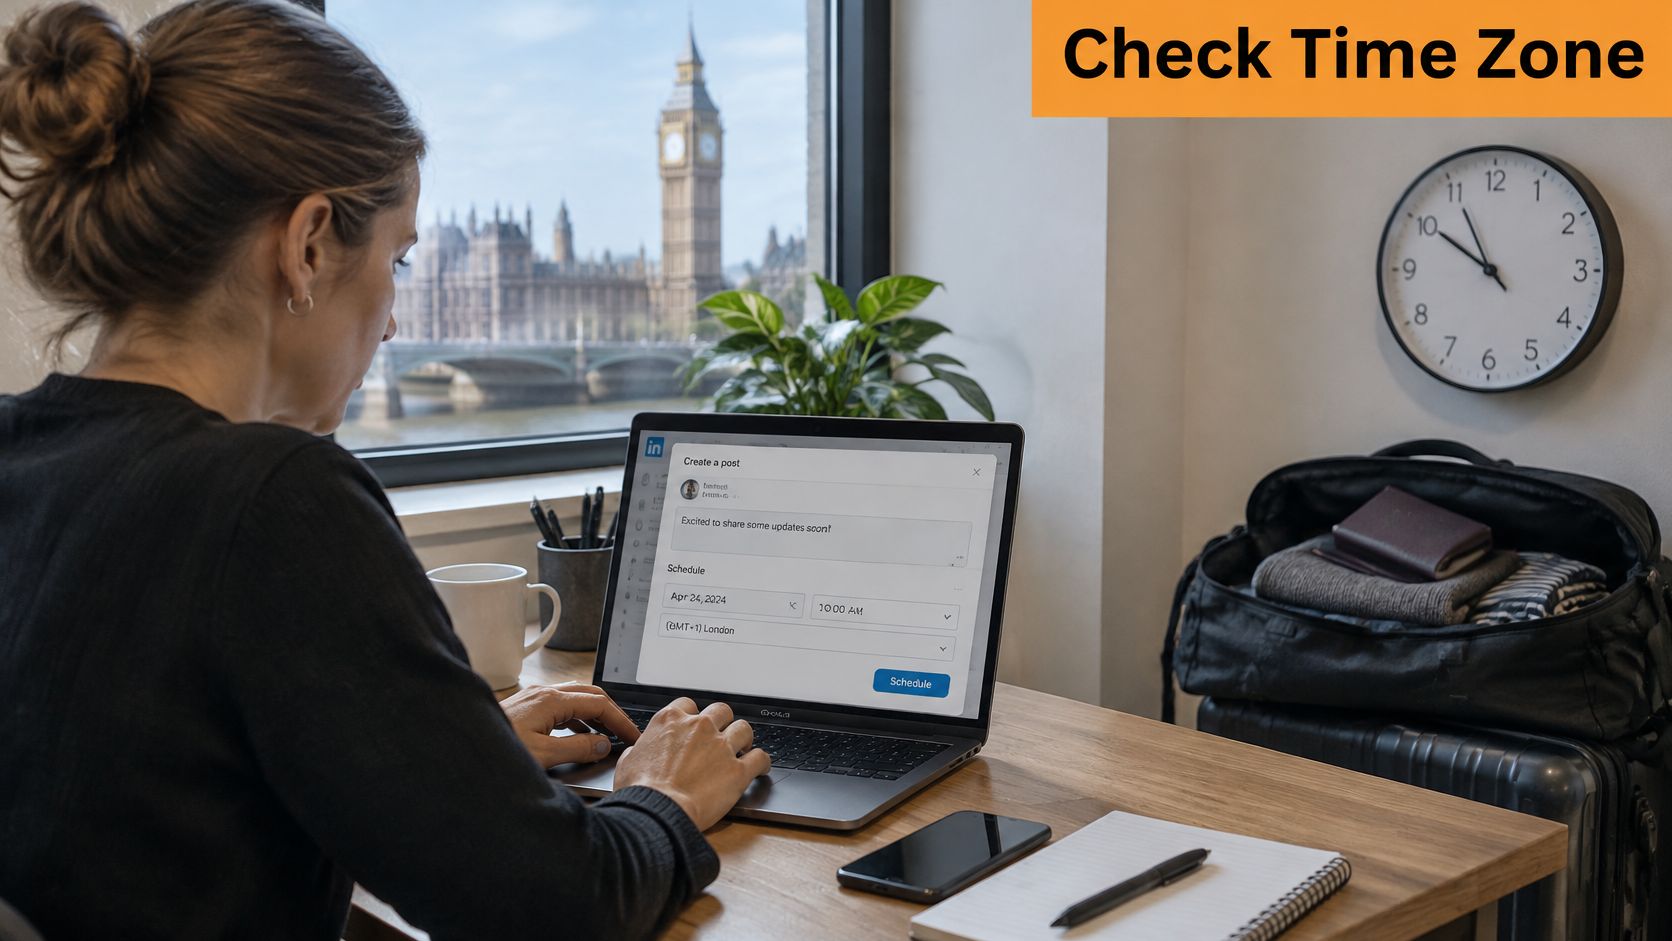
Say a client wants a post to appear during the New York workday, but their scheduler is working in London. Entering the client's requested clock time without checking its time-zone basis can put the post into a different part of the audience's day.
The practical distinction is between the audience's intended local time and the time interpreted by the scheduling interface. Personal-profile scheduling uses the device's time-zone settings, standardized to UTC; Page guidance describes the selected time in relation to the administrator's location.
Travel makes this easy to overlook. A laptop that updates its local time can change what the scheduler sees, even though the client's brief hasn't changed.
Location matters whenever you manage someone else's publishing calendar.
Make the calendar unambiguous
Write the target location and time zone beside the requested publishing time. New York local time is clearer than morning, and a named location is safer than assuming a fixed offset will remain correct through seasonal clock changes.
Keep the audience-local appointment and the scheduler's converted slot visible together. If you use an outside tool, check its configured time zone separately from your computer's clock.
When changing devices, use a harmless draft to inspect the scheduling interface and verify how it interprets the selected time. Cancel the test before publication; there's no reason to publish filler to check the controls.
Account limits matter operationally, too. A Page announcement needed almost immediately may fall outside its available scheduling lead time, so decide whether to publish manually or move the slot instead of repeatedly trying an unavailable time.
Confirm ownership and permissions
Being responsible for a client's content doesn't automatically mean your LinkedIn account has the necessary Page publishing access. Open the correct Page's administrator view and confirm that your assigned role exposes the publishing and scheduling controls you need.
Use these ownership checks before filling the queue:
- Publishing identity: Confirm the name and avatar in the composer, especially when you manage similar company names.
- Responsible scheduler: Name the person who verifies the queue, not just the writer who supplies the copy.
- Approval status: Separate approved posts from drafts that still need legal, executive, or client review.
- Cancellation owner: Make sure someone available can stop publication if circumstances change.
Avoid having colleagues access a personal profile through casually shared credentials. Use an authorized workflow appropriate to the account and the tools your team has approved.
Run a content preflight
The scheduling timestamp is only part of the check. Before confirming, inspect the post as a reader would encounter it.
- Date and time zone: Match the interface to the approved audience-local slot.
- Media rendering: Check cropping, image order, video readiness, and whether essential text remains readable.
- Link destination: Open the actual link and verify that the intended page is live.
- Accessibility text: Add useful image descriptions where supported.
- Mentions and hashtags: Confirm that mentions resolve to the intended people or organizations.
- Time-sensitive claims: Recheck availability, announcements, event details, and wording that could become stale.
Batch material that stays useful, such as an explanation of your process. Keep commentary on developing news close to publication, when someone can judge whether the wording still fits.
For a visual walkthrough alongside your own composer, use the following video.
Measure without confusing account types
Use consistent review windows, such as 24 hours and seven days, and keep profile and Page results separate: Metricool's LinkedIn statistics cites personal-profile engagement of 2.60%, compared with 1.74% for company Pages. Those benchmarks aren't a promise for either account.
Record impressions, reactions, comments, reposts, clicks, and engagement rate as distinct measures. A post that attracts broad attention isn't necessarily the post that produces useful conversations or relevant website visits.
For cadence, Buffer's observational analysis found that publishing 2–5 times weekly correlated with approximately 1,182 additional impressions per post versus publishing once weekly, across more than 2 million posts from over 94,000 accounts. That association doesn't establish that scheduling or higher frequency caused the difference.
Use comparable topics and formats when testing different time blocks, then compare median results rather than declaring a winner from an unusually successful post. RedactAI's guide to LinkedIn posting times can help you choose candidate windows to test, not a universal appointment everyone should copy.
Team agreement: When someone schedules on another person's behalf, agree on the publishing time zone in writing.
How Often to Schedule Without Flooding Your Feed
The median brand published approximately 3.3 times weekly in Rival IQ's analysis of more than 58,000 LinkedIn posts published between January and September 2023. That's a useful description of brand behavior, not a target every executive, recruiter, or consultant needs to match.
More scheduled posts create more opportunities to publish. They don't automatically create more worthwhile things to say.
The main constraint is usually editorial capacity plus response capacity. If your queue is full but nobody can answer a prospective customer's thoughtful question, you've automated the easy part and neglected the valuable part.
Choose a sustainable test
Start with a cadence you can maintain while keeping the topic mix and formats reasonably steady. Record your current results before changing the schedule so you have a meaningful comparison.
Use a defined trial period rather than adjusting frequency after every disappointing post. RedactAI's explanation of posting cadence is useful for separating a deliberate publishing rhythm from filling empty calendar slots.
Evaluate the trial with a short decision list:
- Relevance: Did each post address a question your intended audience has?
- Conversation quality: Did readers ask substantive questions or share useful experiences?
- Business interest: Did clicks and inquiries come from people you want to reach?
- Production effort: Can the writer and approver maintain this pace without rushing?
- Response coverage: Was someone available to handle meaningful comments?
For teams balancing LinkedIn with other channels, Blu Dragonfly LLC's social media posting schedule for businesses provides a broader planning resource. Use that perspective to allocate your team's attention rather than copying an identical frequency across every network.
Give every post a job
A useful queue might alternate a practical explanation, a defensible opinion, and an answer to a common buyer question. That creates variety without forcing the writer to invent a completely different subject every time.
Keep space for timely developments and reserve attention after publication for replies. Don't schedule so tightly that an important announcement requires dismantling the entire calendar.
Publish more only when you can preserve the quality of both the posts and the conversations they start.
If results weaken as output grows, inspect the content before blaming the publishing time. Repeated ideas, vague claims, and thin examples won't become more useful because you place them in a busier queue.
Build Your Scheduling Routine Before Next Week
Build a routine around a clear handoff, not an ambitious pile of drafts. Choose the account you're serving, the person who approves its content, and the person responsible for checking publication.
Then put a recurring batch-writing appointment in your calendar. Keep it separate from the final approval deadline so a delayed review doesn't force someone to schedule unapproved copy.
A practical starting workspace is a LinkedIn content calendar with columns for publishing identity, topic, approved copy, media, audience-local time, scheduling status, and review notes. You don't need an elaborate project-management system; you need everyone to understand what's ready and who acts next.
Give the queue a manageable workload
Prepare an evergreen reserve for quiet periods, but don't schedule everything you write immediately. Some drafts are useful backups, while others need a timely reason to publish.
Keep the workflow visible:
- Ready to review: The writer has finished the copy and attachments.
- Approved to schedule: The responsible reviewer has accepted the content.
- Queued and verified: The scheduler has checked the account and timestamp.
- Published and reviewed: Someone has recorded results and useful audience feedback.
This distinction prevents a common handoff problem: a writer marks a task complete, while the client assumes that means it's already scheduled.
Choose how much help you need
Native LinkedIn scheduling is a reasonable choice if your main need is getting approved posts into a queue. If you want creation, publishing, and performance review together, our Optimize, Schedule and Recycle tools include post scheduling, real-time statistics, viewing your best posts based on statistics, and recycling and repurposing your best content. Our Done For You service includes a dedicated LinkedIn expert and scheduling posts at peak engagement times.
If the bottleneck is broader day-to-day coordination across channels, you might instead hire a remote social media manager through Virtustant. Give that person explicit account access, approval boundaries, and a written time-zone convention rather than assuming they'll infer your process.
Whichever route you choose, keep responsibility with a named person. Software can queue a post, but someone still needs to decide whether it should publish.
Write your first batch this week, schedule the approved posts using the checks above, and add a calendar reminder to assess the trial. Start with a workload you can review properly, then expand only when the process holds up.
Our tools help you prepare LinkedIn content, schedule posts in advance, and review performance so your next batch is informed by actual results. Visit RedactAI to build your publishing queue and turn an irregular posting habit into a manageable routine.