You get the podcast invitation while walking into a meeting: “Can you send your headshot, bio, LinkedIn profile, and a few links today?” You search three folders, download a four-year-old photo, copy a bio written for a conference you no longer attend, and paste a LinkedIn URL that still points to an outdated headline.
That scramble isn't a minor admin problem. It tells you that your professional identity lives in scattered files instead of a system you can use. A personal branding kit fixes that by giving you one reliable folder for the assets you reuse across LinkedIn, speaking invitations, guest posts, sales outreach, interviews, and partnership conversations.
Why Your Personal Branding Kit Is More Than a Folder of Files
A useful kit isn't a collection of attractive documents. It's a source of truth for how you present your expertise. The photo should look like the person described in the bio. The bio should support the promise in the LinkedIn headline. Your posts should sound like the same person who appears on a podcast or leads a client conversation.
That consistency matters more than making one asset look perfect. A polished headshot can't compensate for a vague profile, and a clever post can't repair a bio that describes a role you left years ago.
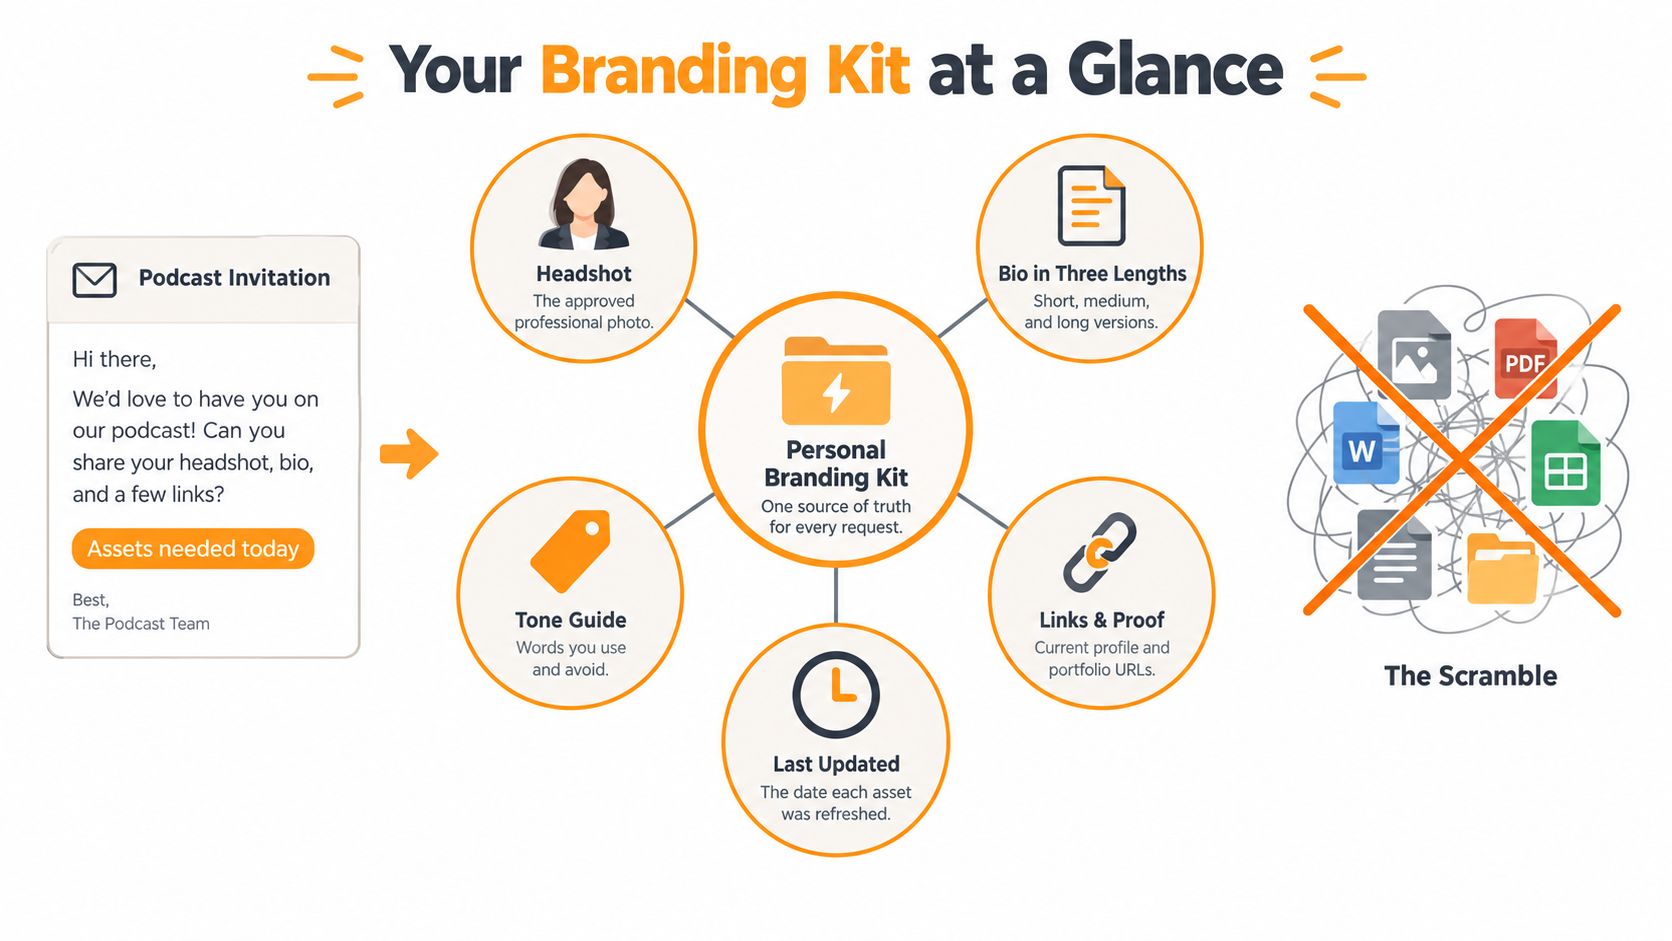
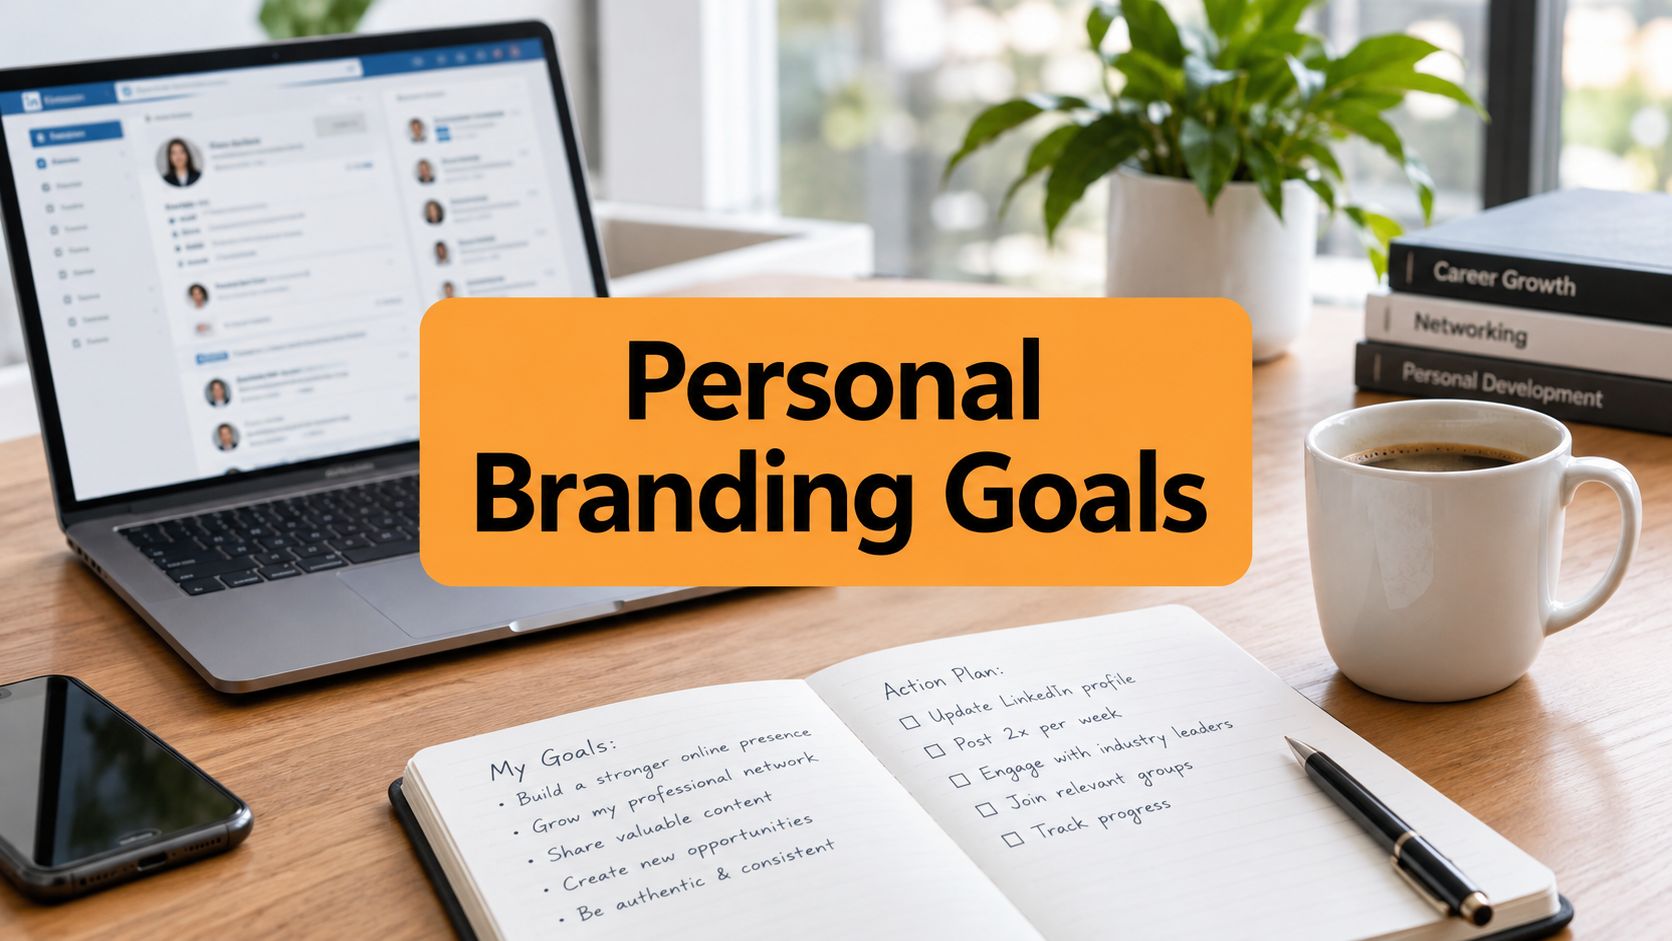
Your working kit should contain four core assets:
- Headshot: An approved professional photo with a clear filename and easy-to-use versions.
- Bio: Short, medium, and long versions built from the same positioning statement.
- Tone guide: A practical record of the words, sentence patterns, and formatting choices that sound like you.
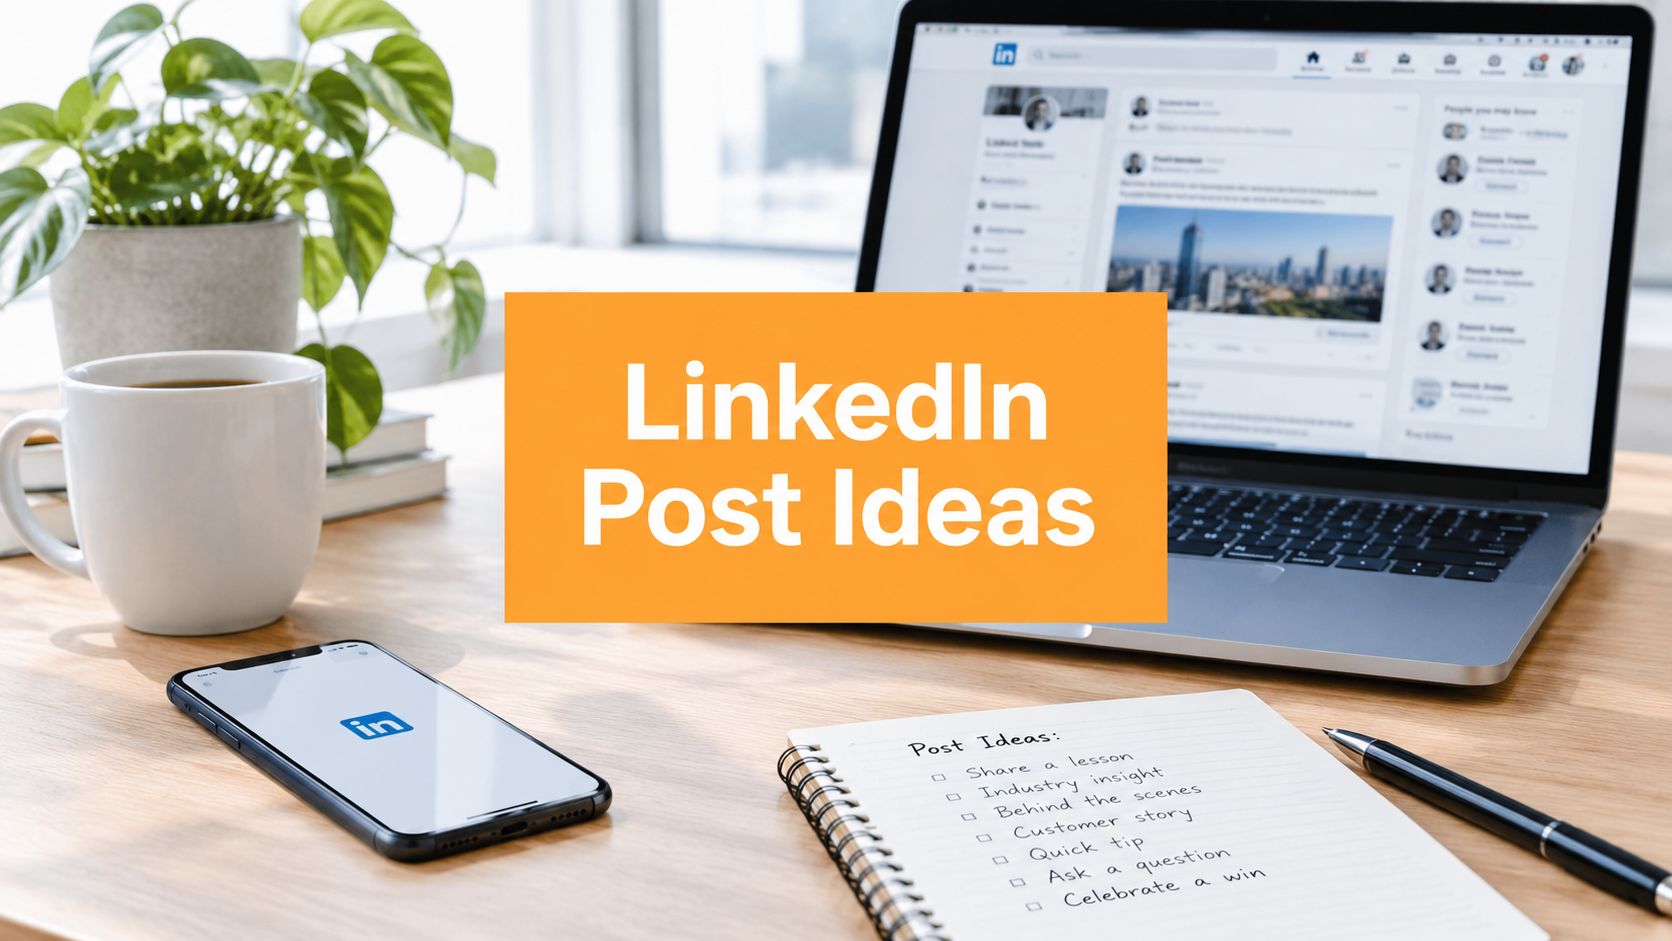
- Post templates: Reusable structures for sharing opinions, lessons, questions, and useful resources.
Add a fifth folder for links and proof, including your current LinkedIn profile, website, portfolio, talks, interviews, and selected work. Keep a simple “last updated” note beside every asset. A kit that doesn't tell you whether a file is current will eventually become another source of confusion.
The academic foundation is stronger than many people assume. A systematic review identified 518 academic articles on personal branding, with publications dating back to 1969 and a sharp increase after the mid-2000s, while another review identified the first papers specifically focused on personal branding in 2005. Those milestones place the modern kit inside a developed field concerned with identity, visibility, differentiation, and credibility, not just social media aesthetics. The systematic review of personal branding research provides useful context.
The order matters. Audit first, create second, deploy third, measure continuously. Without that sequence, you'll produce attractive assets that don't answer the basic question: what should people remember about you?
Audit Before You Build Anything
A client of mine opened Canva to redesign her LinkedIn banner before checking what her profile said. That order was backwards. Before creating visual assets or rewriting an About section, identify the message your current presence already sends.
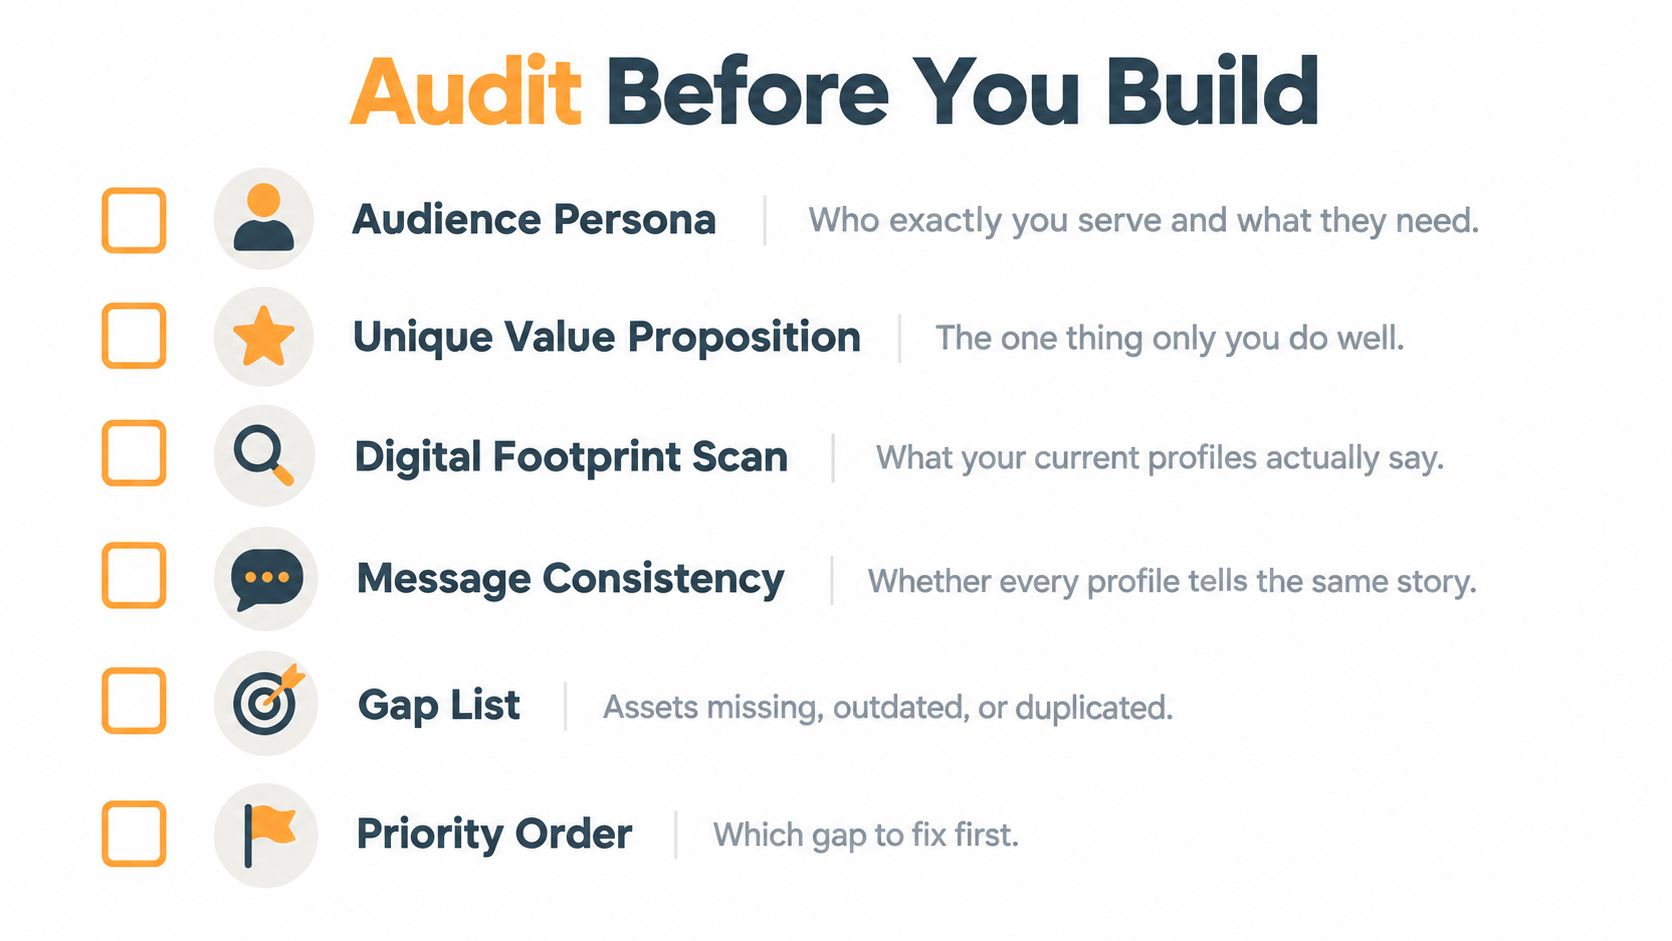
A practical audit follows the sequence recommended in this personal branding evaluation framework: define the audience and value proposition, inspect your public presence, review the message, assess the next action, then rank the gaps.
Start with the person you want to reach
Choose one primary audience. A startup founder, procurement director, and hiring manager will look for different evidence and respond to different language.
Answer three questions:
- Who do you serve? Name the role, context, or problem.
- What do they need from someone like you? Identify the outcome behind the request.
- Why should they trust your approach? Point to experience, method, perspective, or proof.
Use the answers to draft a working value proposition:
I help [audience] achieve [valuable outcome] by using [distinctive approach].
This line is a planning tool, not finished copy. It gives each asset a clear job and exposes weak positioning before you spend time designing.
Search your own name
Open your website, LinkedIn profile, social accounts, speaker pages, author pages, and search results. Review them as a first-time visitor, not as the person who created them.
Record every contradiction. LinkedIn might say you advise technology companies, while your website still presents you as a nonprofit consultant and an old conference page lists a title you no longer hold. Put each mismatch in a gap list, along with the page where it appears.
Check more than written copy. Review profile photos, banner graphics, featured links, calls to action, contact details, pinned posts, and portfolio examples. A visitor should understand what you do, who it is for, and what to do next without asking you to clarify.
Fix the highest-friction gap first
A headline such as “Chief Marketing Officer” may be accurate while leaving the value unclear. Your audit might show that prospects cannot tell whether your strength is category creation, demand generation, or team transformation.
That finding determines the kit. The headline, long bio, banner, post themes, and proof links should support the same positioning. You are correcting the system's direction, not polishing one isolated line.
Rank each gap by three filters:
- Visibility: Does the asset appear early in discovery?
- Trust: Does its absence weaken your claims?
- Action: Does fixing it clarify the next step?
Start with the gap blocking the most important action. A stronger banner cannot compensate for a profile that still leaves your expertise unclear. Audit first, create second, deploy third, and measure continuously.
Creating Your Core Assets Piece by Piece
Build the assets from the value proposition you just defined. The kit should feel coherent because every file answers the same positioning question in a different format.
Start with the headshot. Choose a current image with a clear face, natural expression, and background that won't compete with small profile layouts. Wear something that fits the environments where people will meet you, whether that's a boardroom, a workshop, a studio, or a creative team setting.

Avoid heavy filters and dramatic retouching. People should recognize you when you join the video call. Export a square version for profiles, a larger crop for speaker pages, and a transparent or plain-background option only if you'll genuinely use it. Name the files clearly, for example firstname-lastname-headshot-2026-square.jpg, and store the capture date in a text note.
Write three bios from one idea
Don't write each bio independently. That creates subtle contradictions. Write the long version first, then compress it into the medium and one-line versions.
Use this formula:
- One line: I help [audience] [outcome] through [approach].
- About 50 words: Add your role, relevant experience, and the problem you understand.
- About 150 words: Add your point of view, selected proof, the work you do now, and a clear invitation.
For example:
- One line: I help B2B founders turn complicated products into clear market narratives.
- Medium: I'm a positioning strategist who helps B2B founders explain difficult products in language buyers understand. I combine customer research, messaging workshops, and practical content systems so teams can sell with more clarity.
- Long: Expand the same promise with the type of decisions you help people make, the patterns you've observed, and the work someone can ask you to do.
Keep claims precise. “I help teams clarify complex offers” is more useful than “I'm passionate about innovation.” The first tells readers what to bring you. The second tells them almost nothing.
Your banner should reinforce that same positioning. Use a short phrase, audience cue, or service description, not a crowded collage of logos. A visitor should understand the banner at thumbnail size. If you need visual direction for a broader identity system, reviewing best creative agencies can help you see how professionals handle hierarchy, typography, and visual consistency.
A personal website can hold the fuller version of your story and proof. Keep it aligned with the same promise rather than treating it as a separate identity project. This guide to personal branding sites is a useful reference when you're deciding what belongs on the web page versus inside the kit.
For visual consistency, choose one typeface family, a small color palette, and a repeatable treatment for charts, screenshots, and quote cards. You don't need a full corporate identity. You need enough rules that your LinkedIn post, presentation, and speaker slide look related without looking mass-produced.
Writing a Tone Guide and Post Templates That Keep You Consistent
The tone guide is the least glamorous file in the folder and often the one that saves the most time. It turns “make it sound like me” into instructions another writer, editor, or AI tool can follow.
Keep it to one page. Write rules that someone can apply while drafting, not abstract adjectives such as “authentic,” “dynamic,” or “professional.”
Make the rules observable
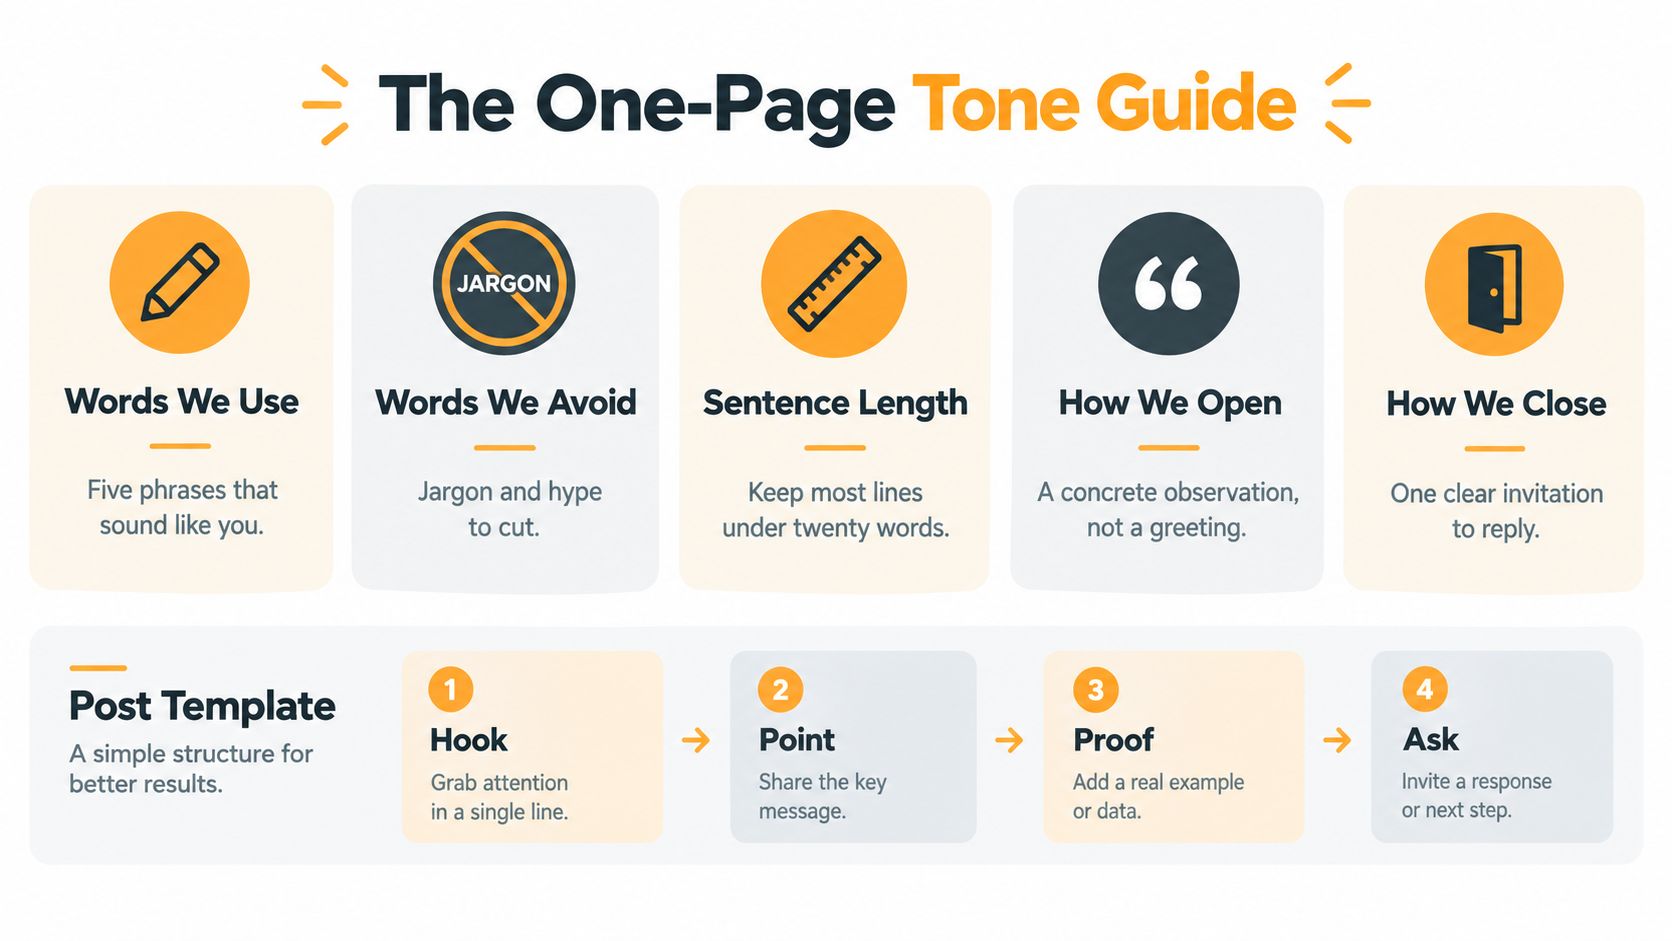
A useful guide might say:
- Words we use: practical, trade-off, evidence, decision, craft.
- Words we avoid: open, game-changing, synergy, groundbreaking.
- Sentence length: Keep most sentences short enough to read quickly on a phone.
- Openings: Start with a concrete observation, mistake, or tension.
- Closings: End with one clear invitation to respond.
- Formatting: Use short paragraphs, occasional bullets, and bold only for important emphasis.
- Emoji policy: Use none, or define exactly where one is acceptable.
Before and after examples make the rules stick.
Before: “In today's rapidly evolving business environment, leaders must use effective solutions to drive transformational growth.”
After: “Your team doesn't need another brainstorm. It needs a decision about which customer problem matters most.”
The second version has a point of view. It also gives the reader something specific to agree with or challenge.
If you're still unsure how to describe the difference between a writing personality and a set of surface preferences, this explanation of brand voice gives you a useful vocabulary.
Build templates around decisions
Templates shouldn't produce identical posts. They should remove the blank-page problem while leaving room for a real observation.
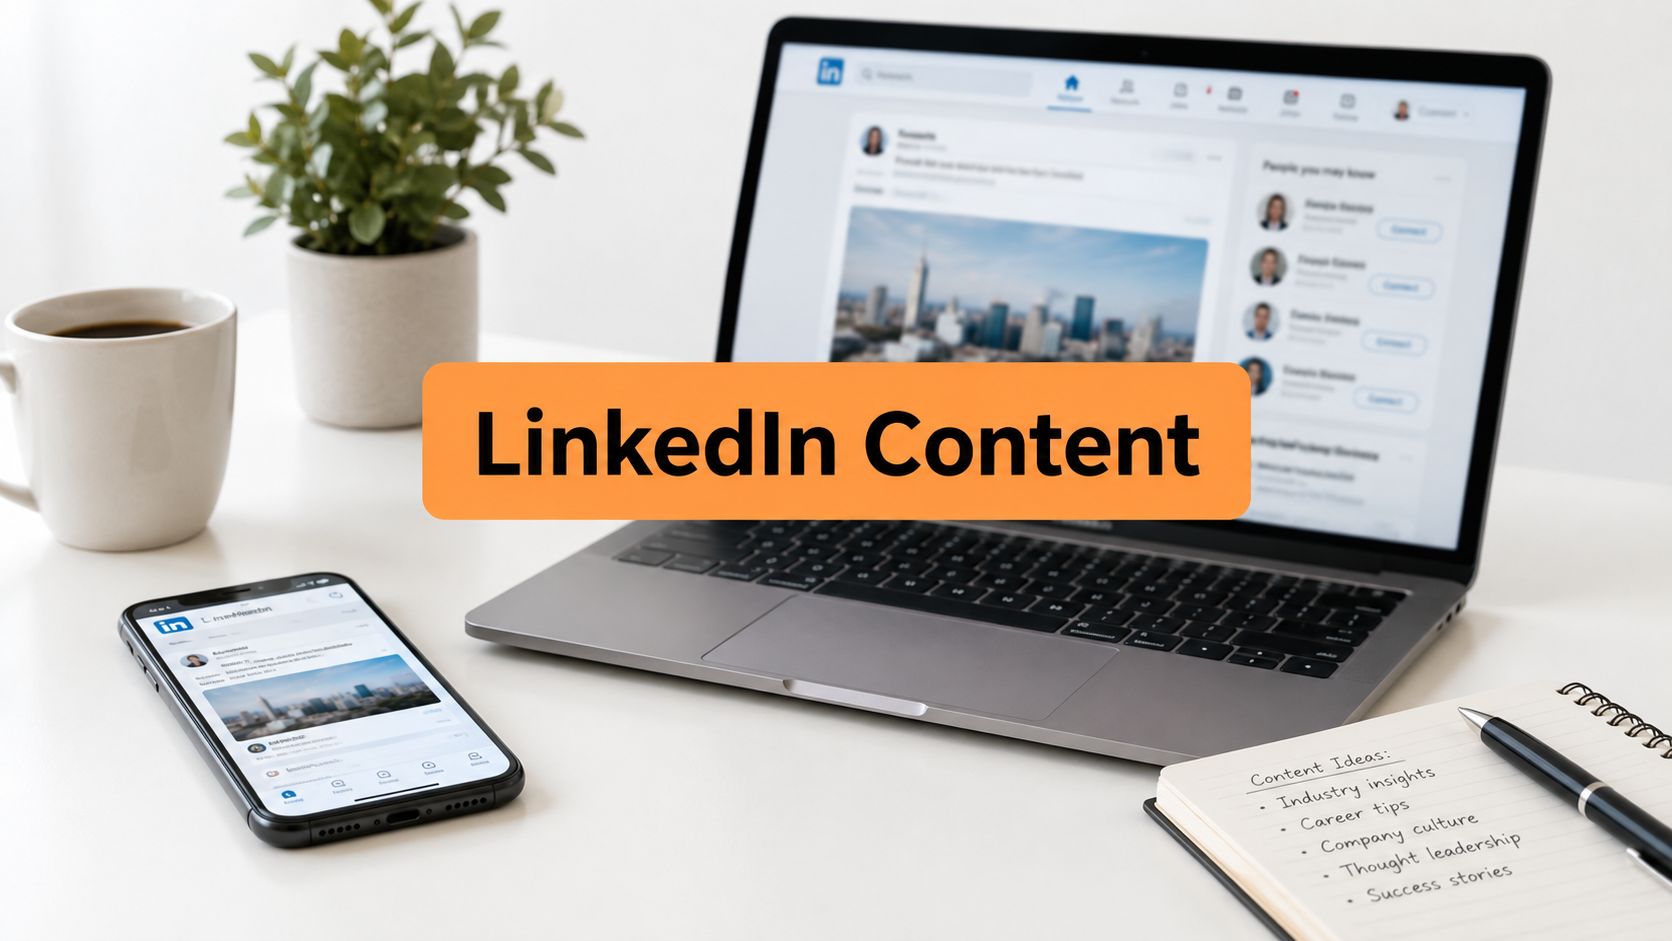
Opinion post
- Hook: State the belief or disagreement.
- Point: Explain why you hold it.
- Proof: Add an experience, example, or visible pattern.
- Ask: Invite a specific response.
Lesson-learned post
- Opening: Name the mistake or unexpected result.
- Context: Explain what you assumed.
- Lesson: State what changed your mind.
- Application: Tell readers what to do differently.
Question post
- Tension: Describe a decision with competing priorities.
- Your view: Offer a provisional answer.
- Question: Ask how others handle the same choice.
Resource roundup
- Problem: Name the task or question.
- Selection: Share a small set of relevant resources.
- Filter: Explain why each one earned a place.
- Invitation: Ask readers what they'd add.
Save each template as a separate document with prompts in brackets. Store three examples of your own posts beside them. Those examples matter because they show rhythm, specificity, and judgment better than a list of tone adjectives.
When the queue runs dry, a tool such as RedactAI can analyze your LinkedIn profile, posting history, and personal experiences to generate drafts that reflect your established tone and expertise. Treat the output as a first draft, not a substitute for your point of view. The kit remains the source of truth.
Putting Your Kit to Work on LinkedIn
Deployment turns the folder into a working system. Start with the LinkedIn headline, using the value proposition from your audit. Build the About section from the long bio, but lead with the audience you serve and the problem you help solve. Credentials support that promise. They should not bury it.
Use the banner to reinforce the same position. In Featured, place proof that makes the promise credible: a relevant article, talk, portfolio page, case material, or contact route. Remove outdated, duplicated, or unrelated links. A smaller Featured section with clear choices usually works better than a crowded one.
The LinkedIn content statistics summary reports that professionals with active personal brands receive 47% more inbound opportunities and that personal profiles generate 8× more engagement than company pages sharing identical content. It also reports that active, consistently engaged LinkedIn profiles are 40× more likely to receive opportunities, while 4 out of 5 LinkedIn members drive business decisions at their organizations. These figures support a practical conclusion: your kit needs both a credible profile and a publishing habit you can repeat.
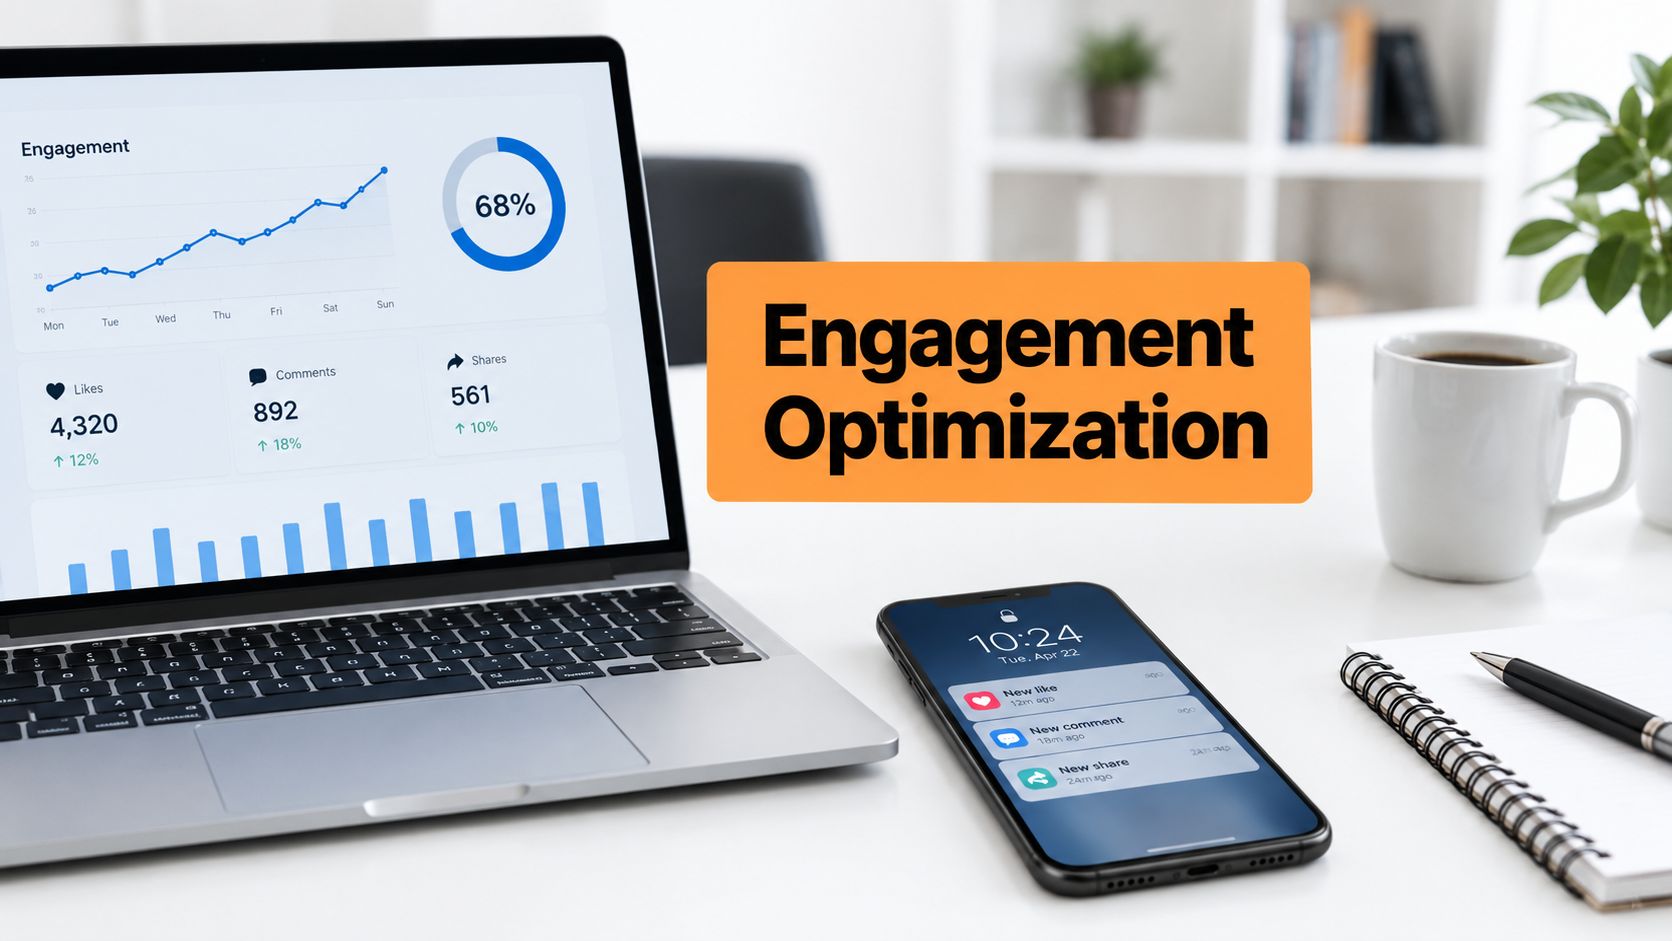
Measure the path from attention to action, not impressions alone.
| Metric | What It Tells You | How to Track It |
|---|---|---|
| Engagement rate | Whether posts create a response from the people who see them | Record reactions, comments, and shares against impressions |
| Profile views per post | Whether content makes readers curious about you | Compare post performance with LinkedIn profile analytics |
| Followers gained | Whether visitors find a reason to stay connected | Note follower change after each meaningful publishing period |
| Website clicks | Whether your profile and posts lead people to owned proof | Use LinkedIn analytics and website analytics together |
Set a personal baseline instead of copying another creator's target. One practical example is 1,000 impressions = 10 profile views = 3 new followers, a model described in the measurement framework covered earlier in this article. Your ratios may differ. The useful question is where attention stops moving.
If profile views rise but follows do not, revise the profile promise, proof, or Featured section. If follows rise but website clicks remain weak, make the next action clearer. Executives who think faster than they type can use a LinkedIn caption dictation tool to capture spoken ideas before drafting. The final copy still needs to pass through the tone guide.
Review performance after each meaningful publishing period and record the result in the kit. Keep themes that attract the right profile visits, revise those that create attention without action, and stop repeating formats that produce neither. The personal branding strategy guide can help connect profile, content, and measurement decisions into one operating plan.
Keeping Your Kit Alive and the Mistakes That Quietly Kill It
A personal branding kit decays when nobody owns its maintenance. Headshots age, bios become inaccurate after role changes, links break, and templates drift toward generic language as more people edit them.
Use a light maintenance rhythm:
- Monthly: Review templates and remove formats that no longer sound natural.
- Quarterly: Check the bios, headline, featured links, and current priorities.
- Annually: Review the headshot and replace it if your appearance or role has materially changed.
Three mistakes cause the most damage. Generic corporate messaging makes you sound interchangeable. Ignoring the profile-view-to-follower conversion hides a weak profile behind healthy reach. Inconsistent language across LinkedIn, your website, and speaker materials makes people work too hard to understand you.
Research on executive and employee visibility adds context. One independent source reports that 82% of people are more likely to trust a company when senior executives are active on social media, that employee-shared content can produce 561% greater reach than identical corporate posts, and that leads developed through employee social marketing convert 7× more often than other lead types. The same source highlights generic messaging, weak conversion measurement, and inconsistent channels as common pitfalls. Read the executive visibility findings.
Screenshot checklist:
□ One clear audience and value proposition
□ Current headshot, bios, banner, and proof links
□ Tone rules someone else can follow
□ Reusable post templates with real examples
□ LinkedIn baseline for views, follows, and clicks
□ Monthly, quarterly, and annual maintenance reminders
Don't wait for a perfect system. Create the headshot file and three bios today, place them in one folder, and use that folder for your next request.
RedactAI can turn your posting history, profile, and personal experiences into LinkedIn drafts that follow your established voice, while also helping you generate ideas, refine copy, and maintain a publishing queue. Visit RedactAI to build a content workflow that supports the personal branding kit you've just created.